Os_Ticket_server

About

osTicket is a free, open-source support ticket system that enables businesses and organizations to manage, organize, and track customer support requests efficiently.
It transforms emails, phone calls, and web forms into a simple, web-based helpdesk system — streamlining customer service.
🔑 Key Features
🎫 Ticket Management – Automatically convert emails into tickets and assign to agents.
🧩 Custom Fields & Forms – Tailor data collection to your support process.
🛠️ Help Topics & SLA Policies – Route tickets and enforce response deadlines.
🧵 Threaded Conversations – Maintain full ticket history with internal notes and responses.
📂 Departments & Teams – Separate workflows and staff roles.
🔍 Search & Filters – Quickly locate, filter, and organize tickets.
📊 Reports – Built-in reporting dashboard with ticket metrics.
- Type virtual machines in the search.
- Under Services, select Virtual machines.
- In the Virtual machines page, select Add. The Create a virtual machine page opens.
- In the Basics tab, under Project details, make sure the correct subscription is selected and then choose to Create new resource group. Type myResourceGroup for the name.*.
- Under Instance details, type myVM for the Virtual machine name, choose East US for your Region, and choose Ubuntu 18.04 LTS for your Image. Leave the other defaults.
- Under Administrator account, select SSH public key, type your user name, then paste in your public key. Remove any leading or trailing white space in your public key.
- Under Inbound port rules > Public inbound ports, choose Allow selected ports and then select SSH (22) and HTTP (80) from the drop-down.
- Leave the remaining defaults and then select the Review + create button at the bottom of the page.
- On the Create a virtual machine page, you can see the details about the VM you are about to create. When you are ready, select Create.
It will take a few minutes for your VM to be deployed. When the deployment is finished, move on to the next section.
Connect to virtual machine
Create an SSH connection with the VM.
- Select the Connect button on the overview page for your VM.
- In the Connect to virtual machine page, keep the default options to connect by IP address over port 22. In Login using VM local account a connection command is shown. Select the button to copy the command. The following example shows what the SSH connection command looks like:
ssh azureuser@<ip>
- Using the same bash shell you used to create your SSH key pair (you can reopen the Cloud Shell by selecting >_ again or going to https://shell.azure.com/bash), paste the SSH connection command into the shell to create an SSH session.
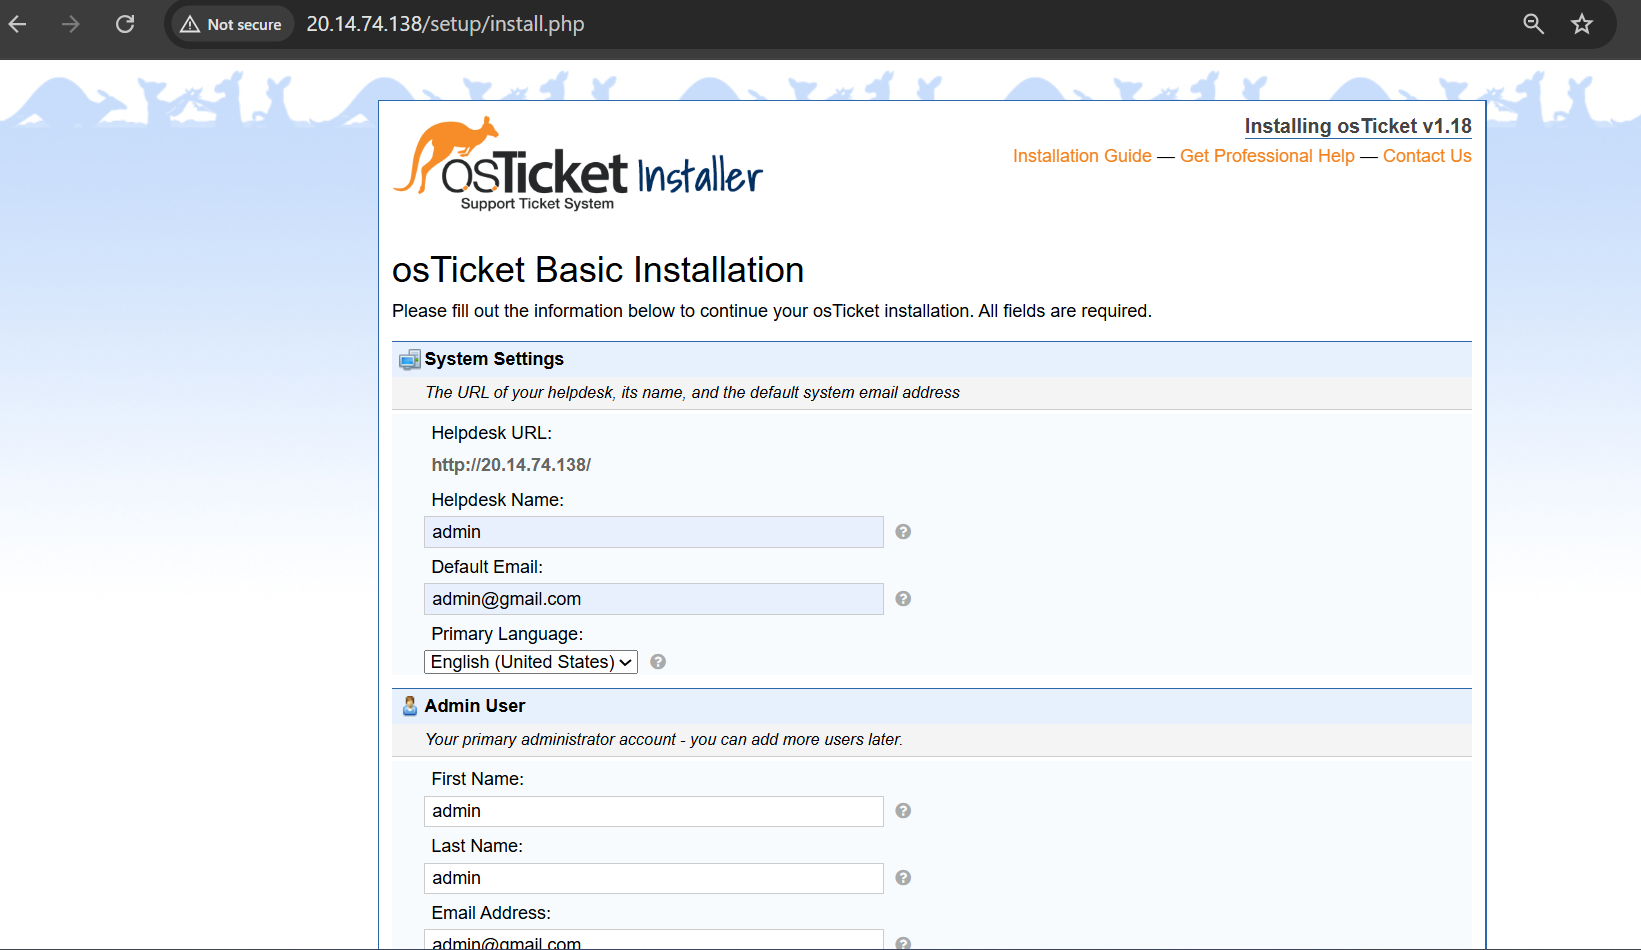
Usage/ Deployment Instructions
Getting Started with Os_Ticket_Server.
-
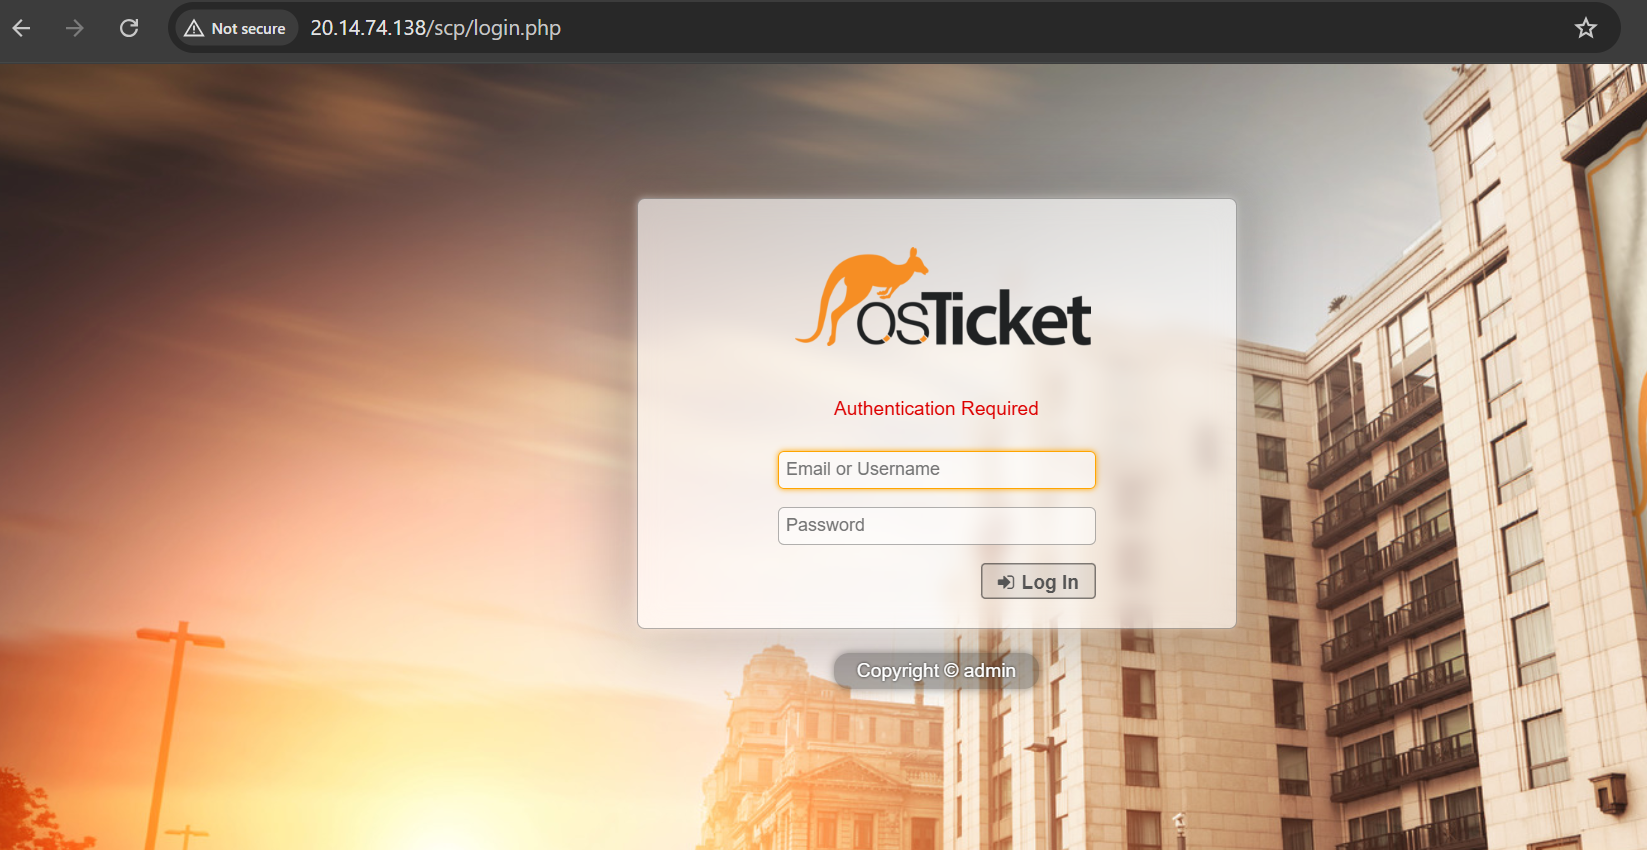
Visit
http://your-server-ip/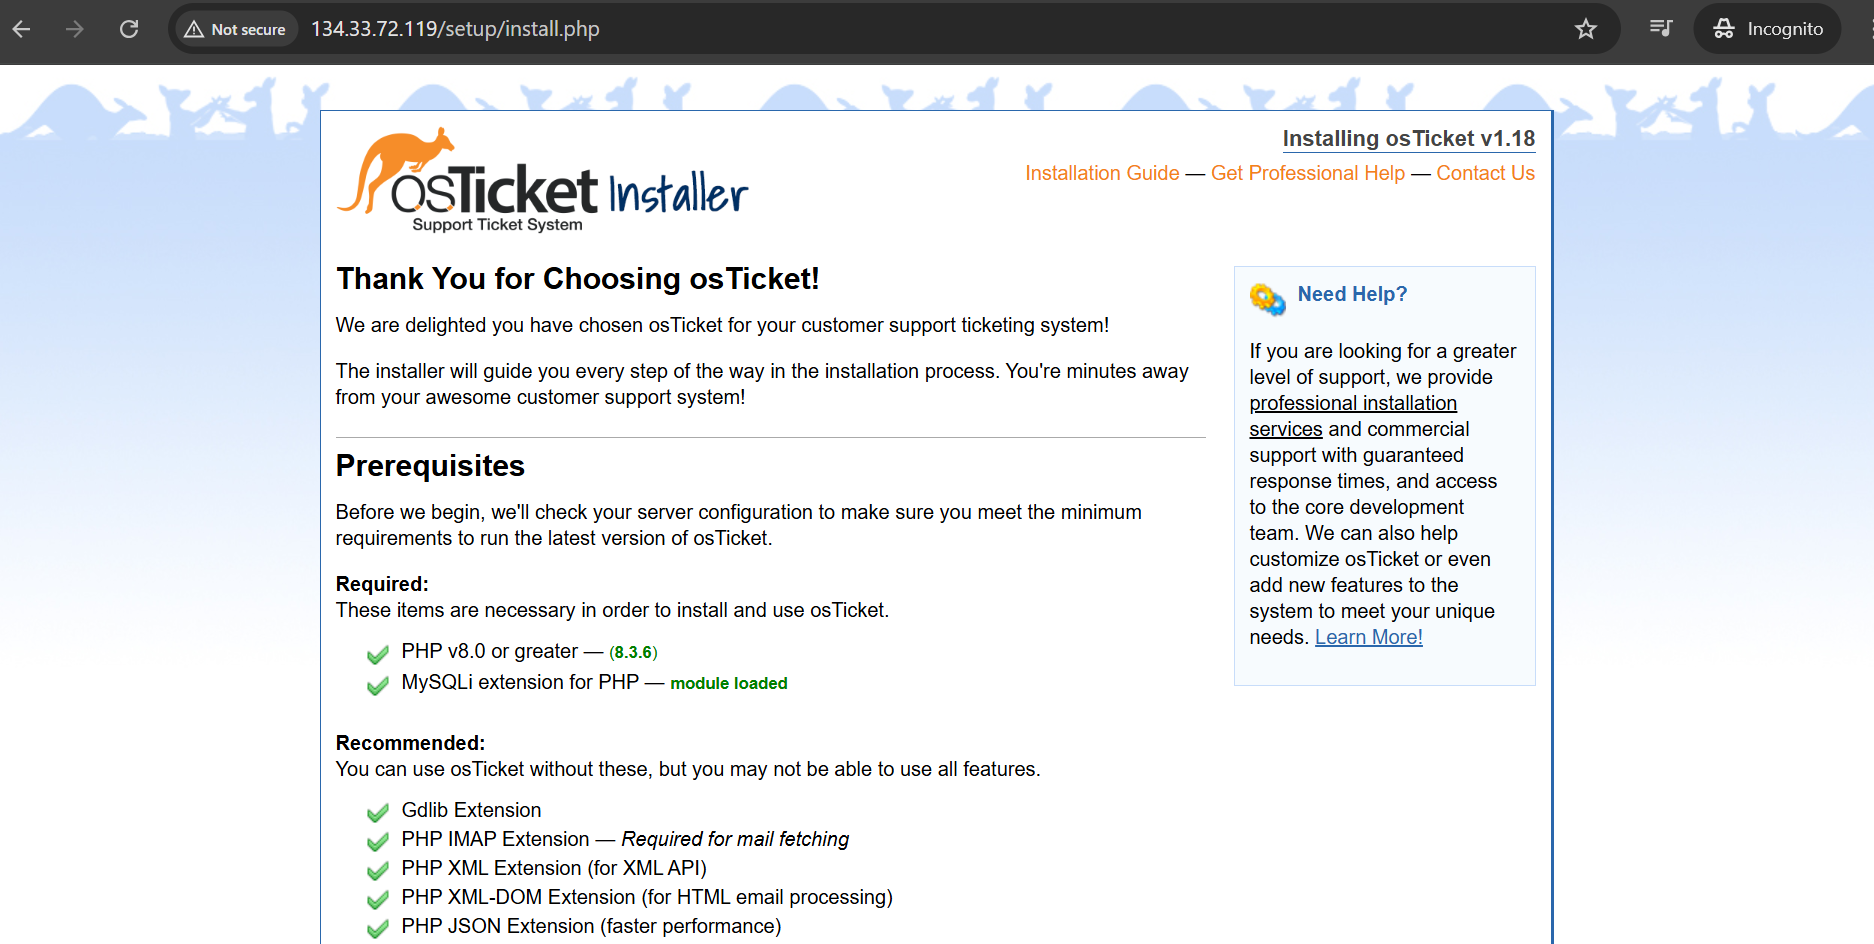

-
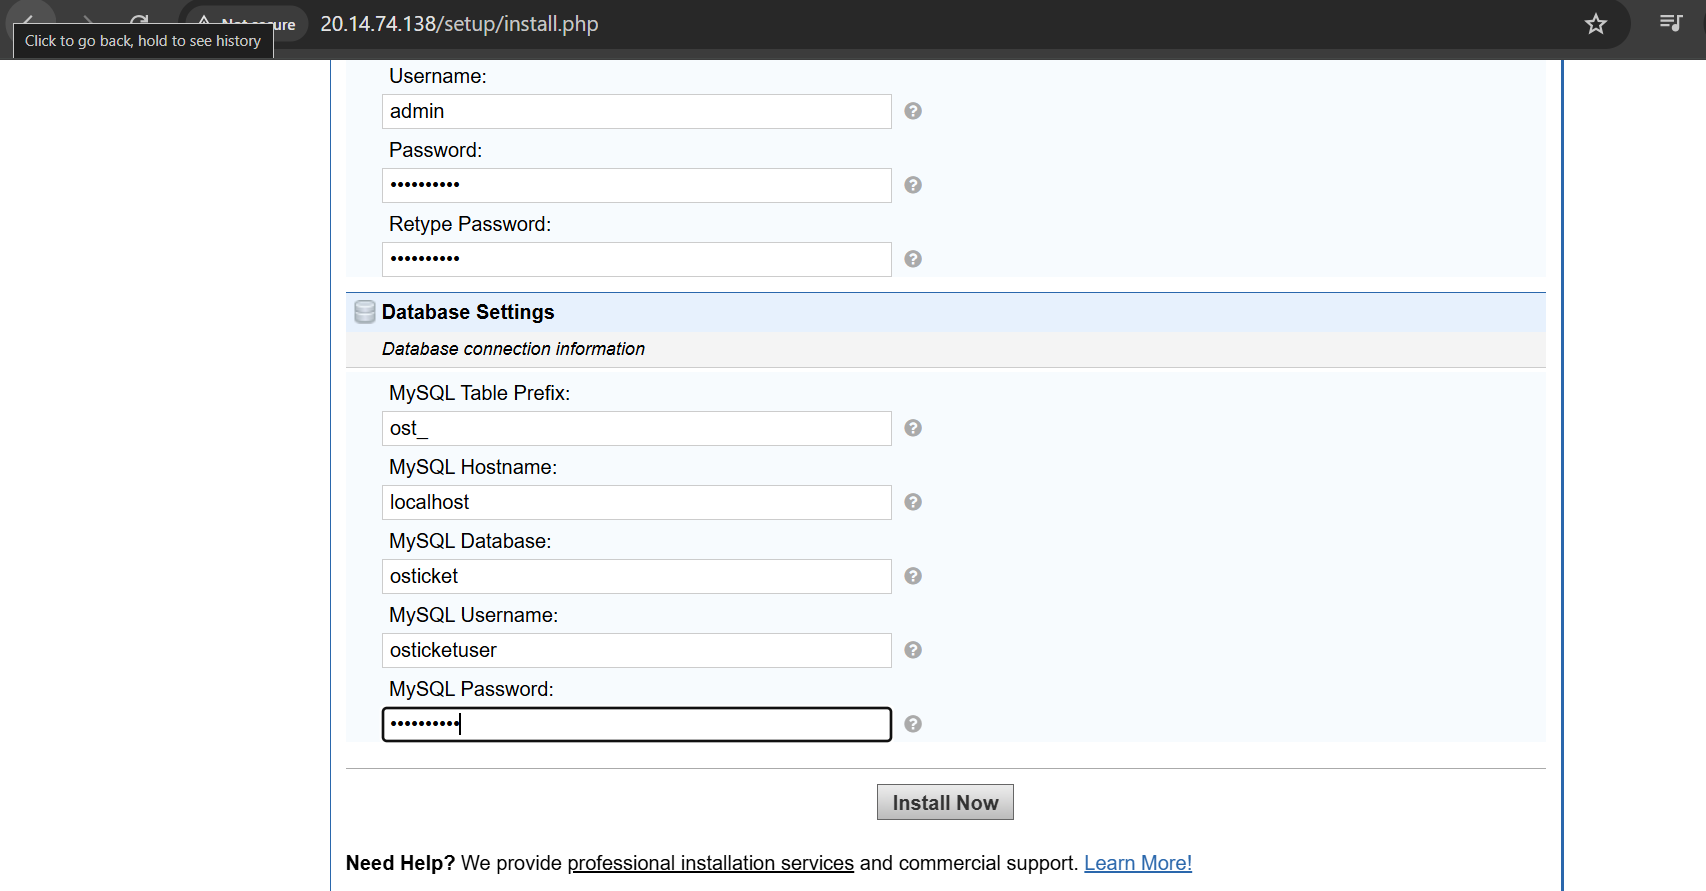
Enter MySQL database detailsLogin to machine and go to below path
- sudo su
- cd /home/niles
- and open db_password.txt for database details.
![]()

- (510) 298-5936
Submit Your Request
Highlights
- Ticket Management – Automatically convert emails into tickets and assign to agents.
- Reports – Built-in reporting dashboard with ticket metrics.
- Custom Fields & Forms – Tailor data collection to your support process.
- Search & Filters – Quickly locate, filter, and organize tickets.
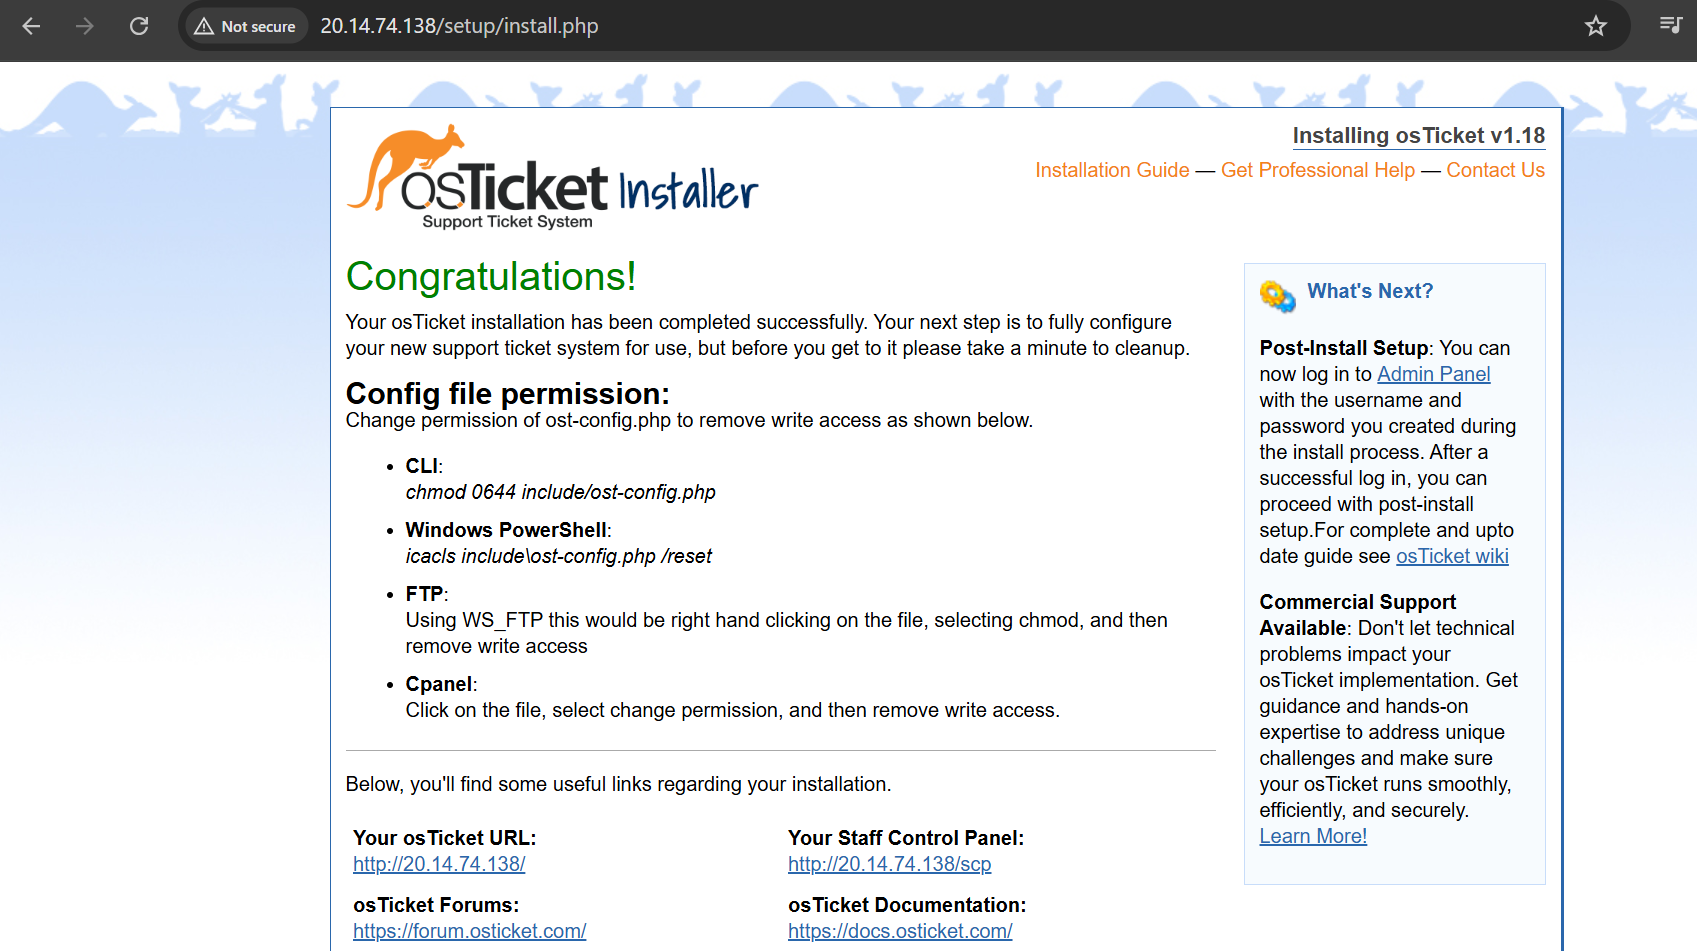
Application Installed
