InfluxDB v2 on Ubuntu

About

InfluxDB v2 is an open-source time series database developed by InfluxData, designed specifically for storing and querying time-stamped data like system metrics, IoT sensor data, and application logs. Version 2 introduces a unified API, an integrated UI, Flux (a powerful new query language), and support for tasks, dashboards, and annotations—all accessible via a single platform.
Running on Ubuntu, InfluxDB v2 offers:
-
High performance for real-time analytics
-
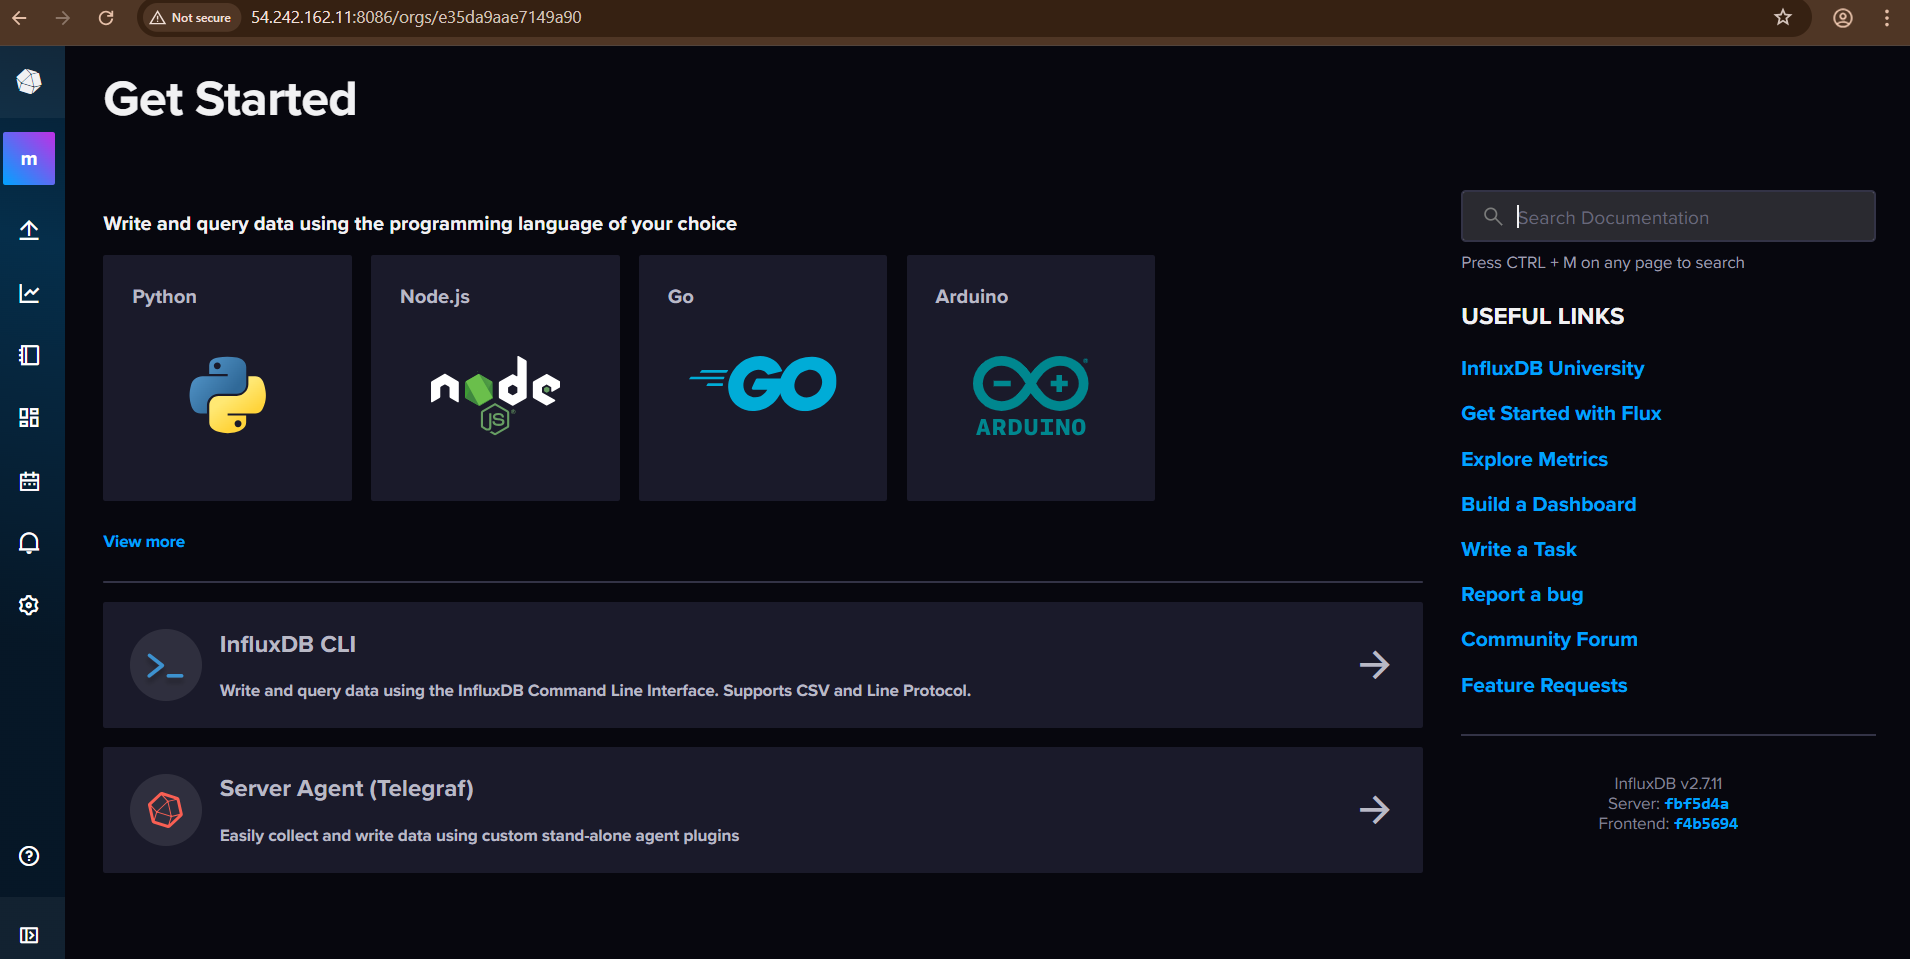
Built-in UI for exploring and visualizing data
-
Flux language for advanced querying and data transformation
-
Secure token-based authentication
-
Efficient data compression
-
APIs for writing, querying, and managing data
- Type virtual machines in the search.
- Under Services, select Virtual machines.
- In the Virtual machines page, select Add. The Create a virtual machine page opens.
- In the Basics tab, under Project details, make sure the correct subscription is selected and then choose to Create new resource group. Type myResourceGroup for the name.*.
- Under Instance details, type myVM for the Virtual machine name, choose East US for your Region, and choose Ubuntu 18.04 LTS for your Image. Leave the other defaults.
- Under Administrator account, select SSH public key, type your user name, then paste in your public key. Remove any leading or trailing white space in your public key.
- Under Inbound port rules > Public inbound ports, choose Allow selected ports and then select SSH (22) and HTTP (80) from the drop-down.
- Leave the remaining defaults and then select the Review + create button at the bottom of the page.
- On the Create a virtual machine page, you can see the details about the VM you are about to create. When you are ready, select Create.
It will take a few minutes for your VM to be deployed. When the deployment is finished, move on to the next section.
Connect to virtual machine
Create an SSH connection with the VM.
- Select the Connect button on the overview page for your VM.
- In the Connect to virtual machine page, keep the default options to connect by IP address over port 22. In Login using VM local account a connection command is shown. Select the button to copy the command. The following example shows what the SSH connection command looks like:
ssh azureuser@<ip>
- Using the same bash shell you used to create your SSH key pair (you can reopen the Cloud Shell by selecting >_ again or going to https://shell.azure.com/bash), paste the SSH connection command into the shell to create an SSH session.
Usage/ Deployment Instructions
Connect to VM- Port- 22.
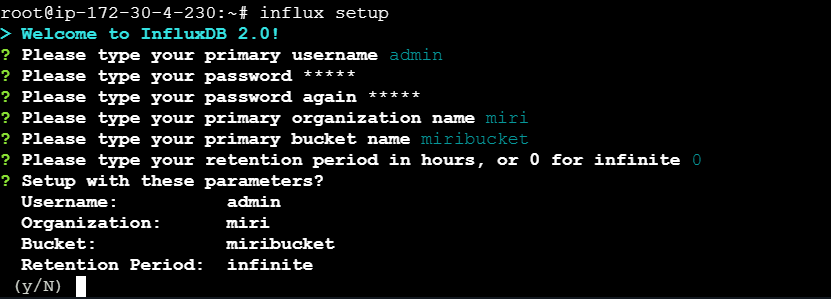
You need to run “influx setup” command to start with the setup in terminal.
Getting Started with InfluxDB v2 on Ubuntu.
cd /home/niles
influx setup
-
-
Visit
http://your-server-ip:8086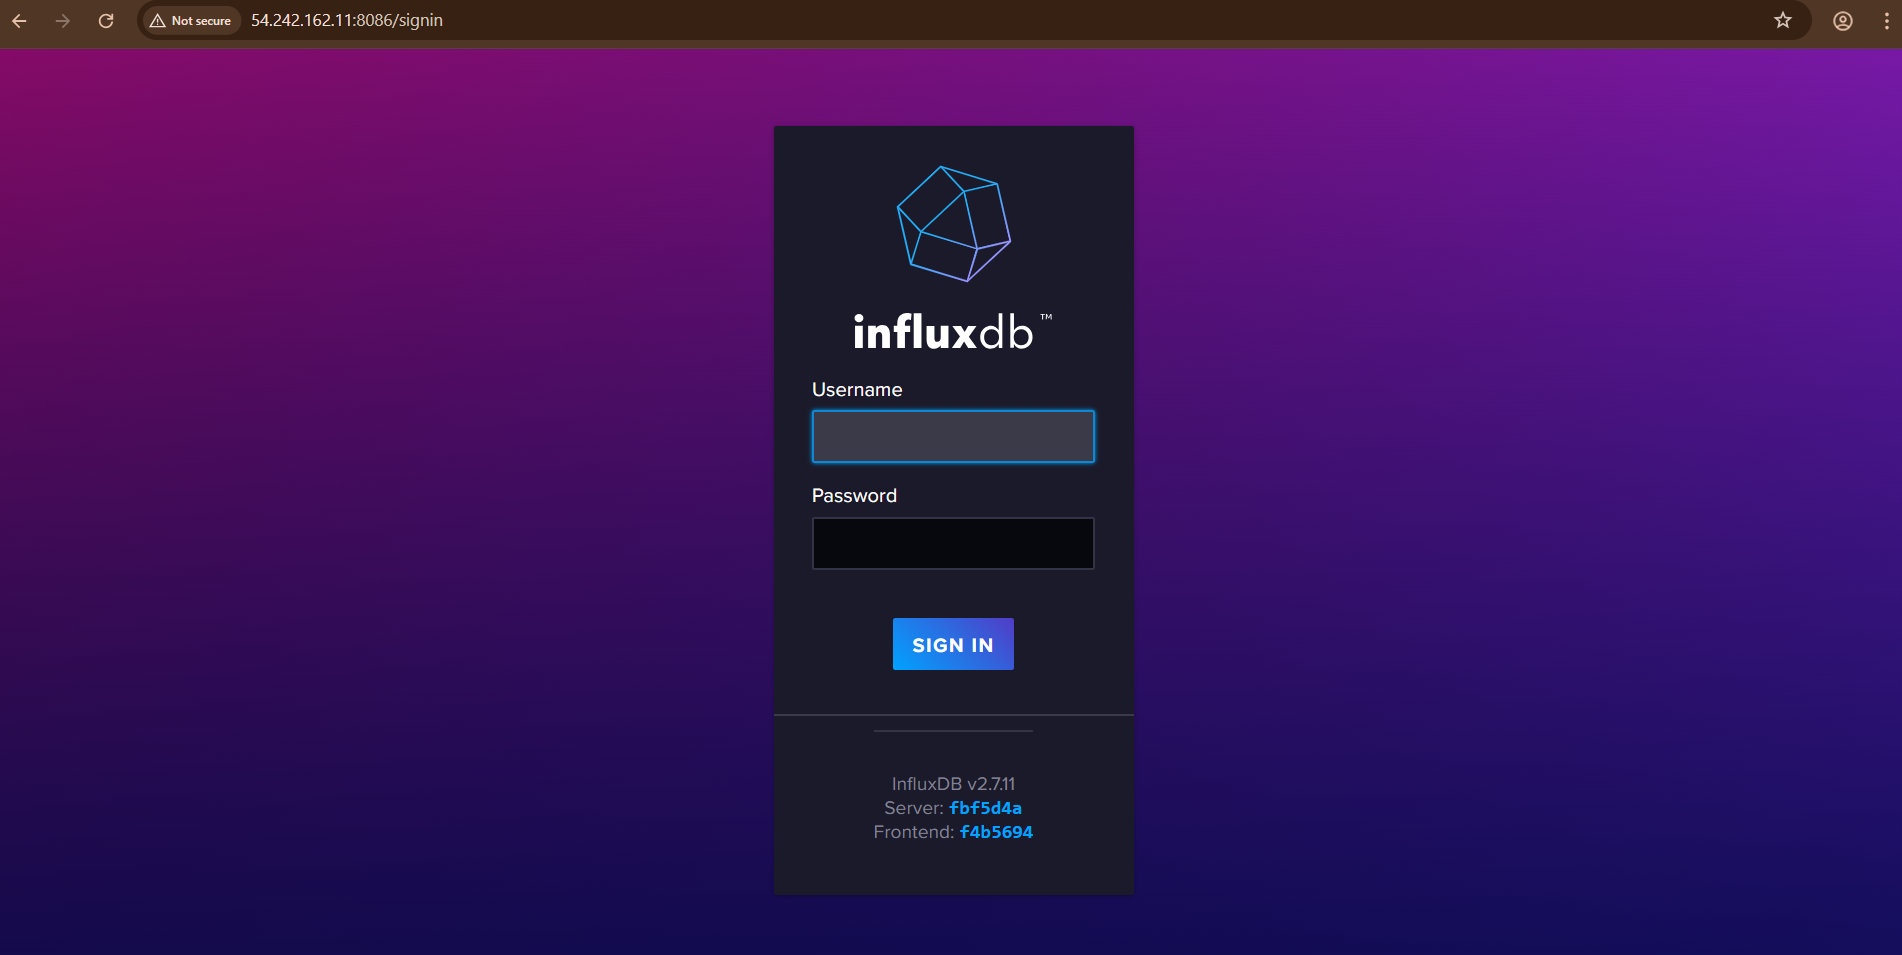
- (510) 298-5936
Submit Your Request
Highlights
- High performance for real-time analytics
- Built-in UI for exploring and visualizing data
- Flux language for advanced querying and data transformation
- Secure token-based authentication
Application Installed
