IMPRESSCMS
- Apache
- PHP
- MySQL
About

ImpressCMS is an open source content management system for building and maintaining dynamic web sites. With this tool maintaining the content of a website becomes as easy as writing a word document. ImpressCMS is the ideal tool for a wide range of users: from business to community users, from large enterprises to people who want a simple, easy to use blogging tool. ImpressCMS is a powerful system that gets outstanding results and it is free!
We are launching a product which will configure and publish ImpressCMS, an open source CMS software solution which is embedded pre-configured tool with LAMP and ready-to-launch VM on Azure that contains ImpressCMS, Apache, MySQL, Linux, PHP(LAMP).
ImpressCMS uses an open architecture, allowing webmasters to add modules into the core CMS for additional functionality. Modules exist that have been developed by an international community of developers, designers and fans and are able to handle most every task associated with the managing of web content and an online community.
- Database driven
- Granular permissions for users and groups
- Complete user profiles and private messaging
- Customizable themes and templates
- Integrated comment system, with moderation options
- Integrated management for banner advertising
- Site-wide search function
- Multibyte language support
User interaction features include:
- XML-RPC interface
- File and Image Upload
- IP-banlist
- Backup & Restore
- Type virtual machines in the search.
- Under Services, select Virtual machines.
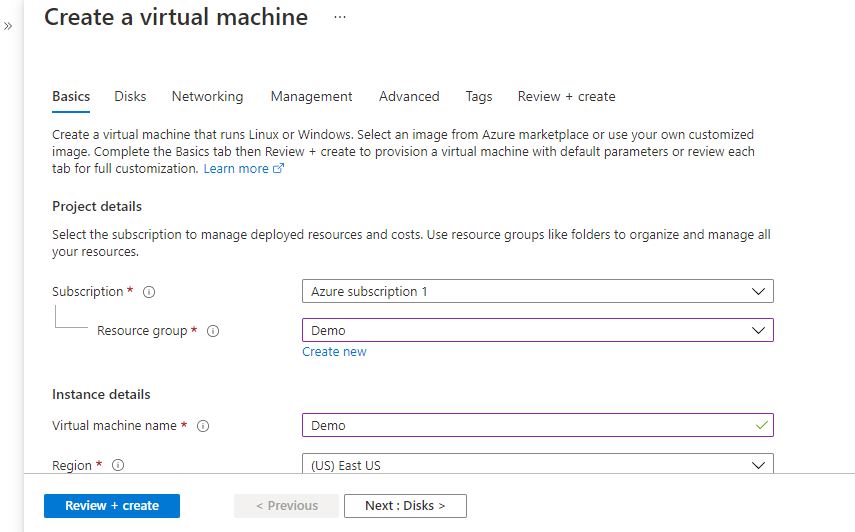
- In the Virtual machines page, select Add. The Create a virtual machine page opens.
- In the Basics tab, under Project details, make sure the correct subscription is selected and then choose to Create new resource group. Type myResourceGroup for the name.*.
- Under Instance details, type myVM for the Virtual machine name, choose East US for your Region, and choose Ubuntu 18.04 LTS for your Image. Leave the other defaults.
- Under Administrator account, select SSH public key, type your user name, then paste in your public key. Remove any leading or trailing white space in your public key.
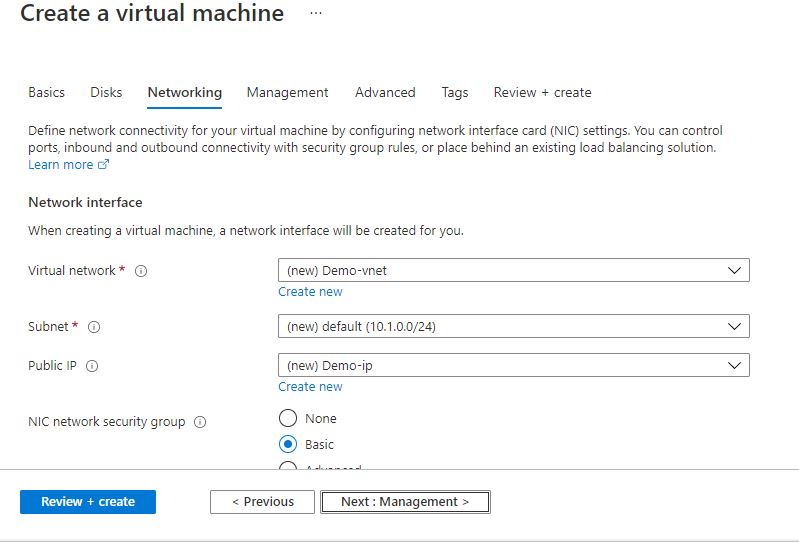
- Under Inbound port rules > Public inbound ports, choose Allow selected ports and then select SSH (22) and HTTP (80) from the drop-down.
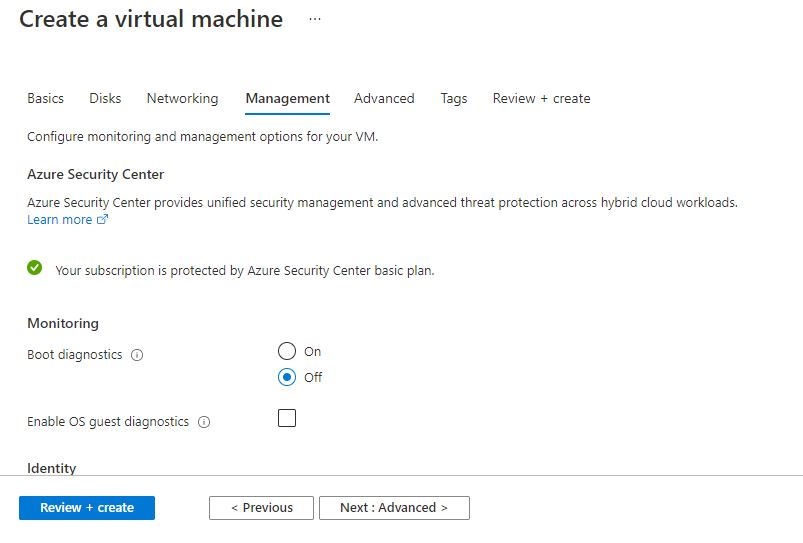
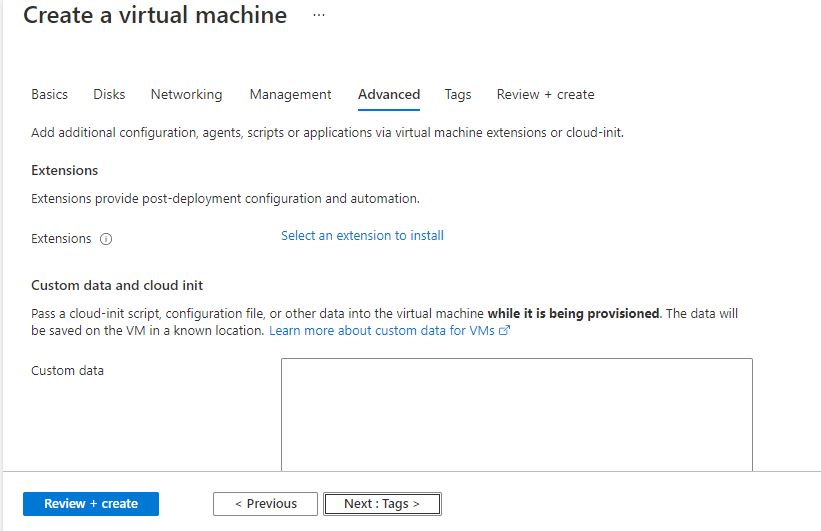
- Leave the remaining defaults and then select the Review + create button at the bottom of the page.
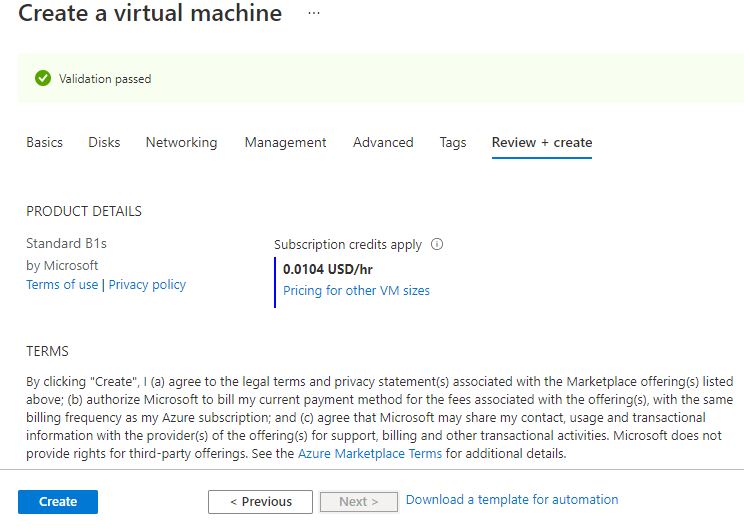
- On the Create a virtual machine page, you can see the details about the VM you are about to create. When you are ready, select Create.
It will take a few minutes for your VM to be deployed. When the deployment is finished, move on to the next section.
Connect to virtual machine
Create an SSH connection with the VM.
- Select the Connect button on the overview page for your VM.
- In the Connect to virtual machine page, keep the default options to connect by IP address over port 22. In Login using VM local account a connection command is shown. Select the button to copy the command. The following example shows what the SSH connection command looks like:
bashCopy
ssh azureuser@10.111.12.123
- Using the same bash shell you used to create your SSH key pair (you can reopen the Cloud Shell by selecting >_ again or going to https://shell.azure.com/bash), paste the SSH connection command into the shell to create an SSH session.
Usage/Deployment Instructions
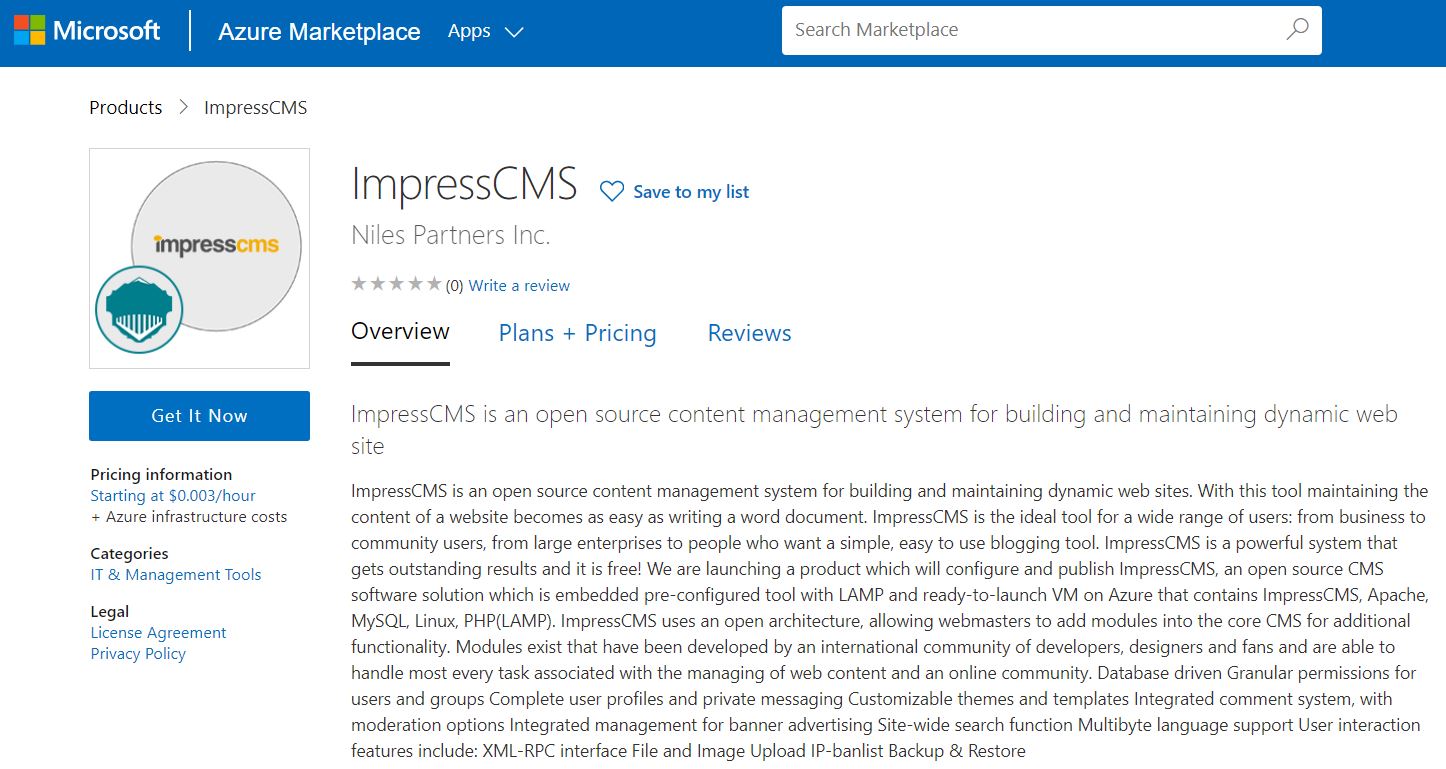
Step 1: Access IMPRESS CMS from Azure Marketplace and click ON Get it now button.
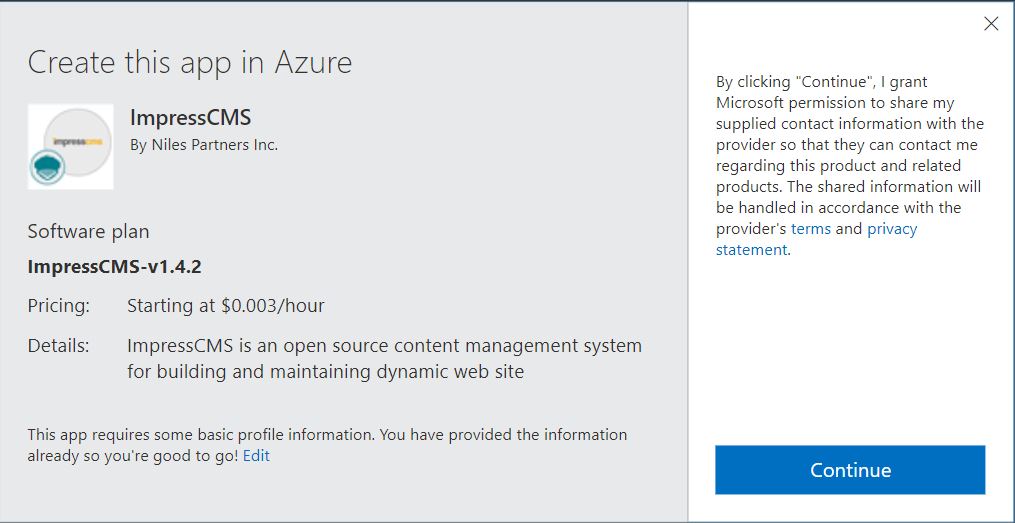
Click on continue,
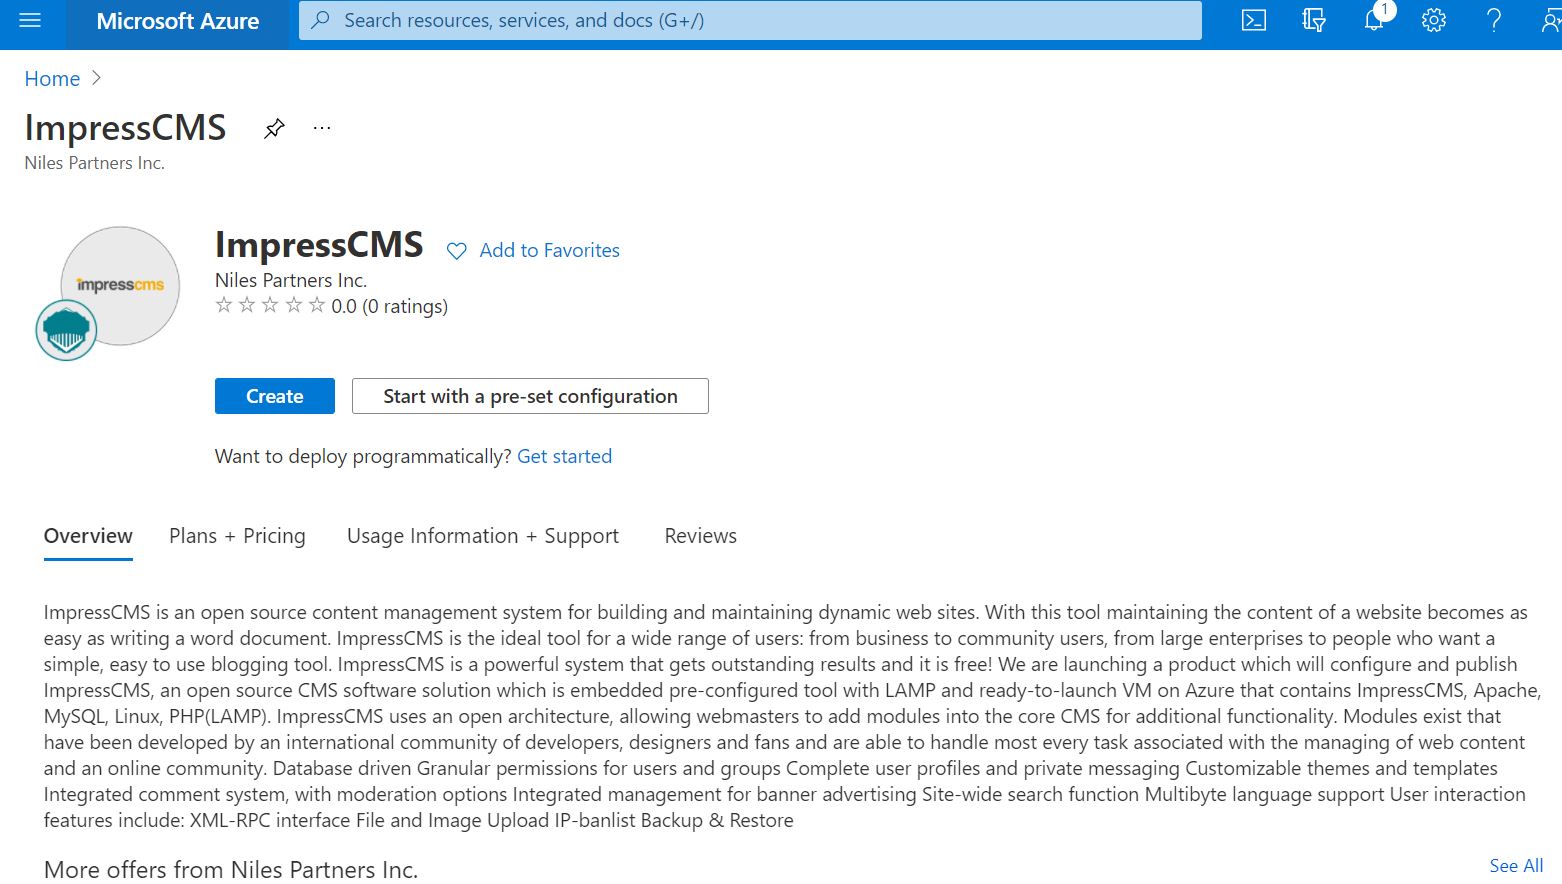
Now click on create
Step 2: Now to create a virtual machine, enter or select appropriate values for zone, machine type, resource group and so on as per your choice.

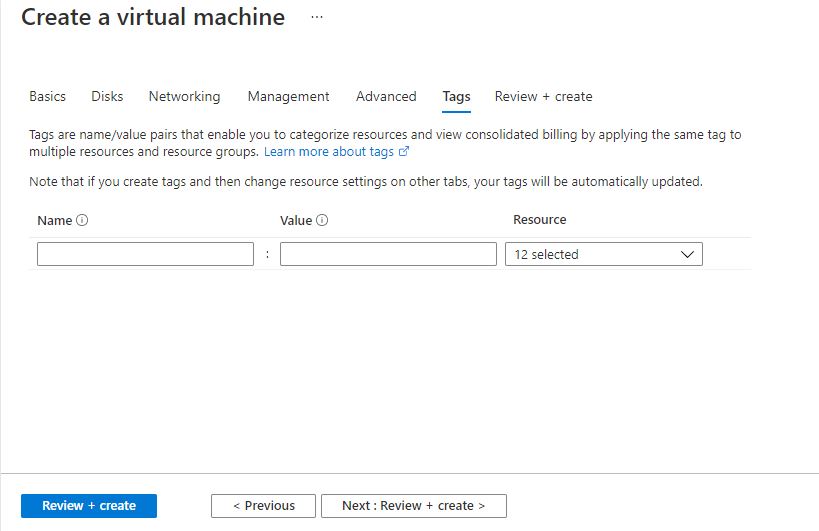
Click on create
Step 3: Use the browser to access the application at http://<instance ip address> replace <instance ip address> with the actual ip address of the running instance.
Note: You will get the Instance IP Address.
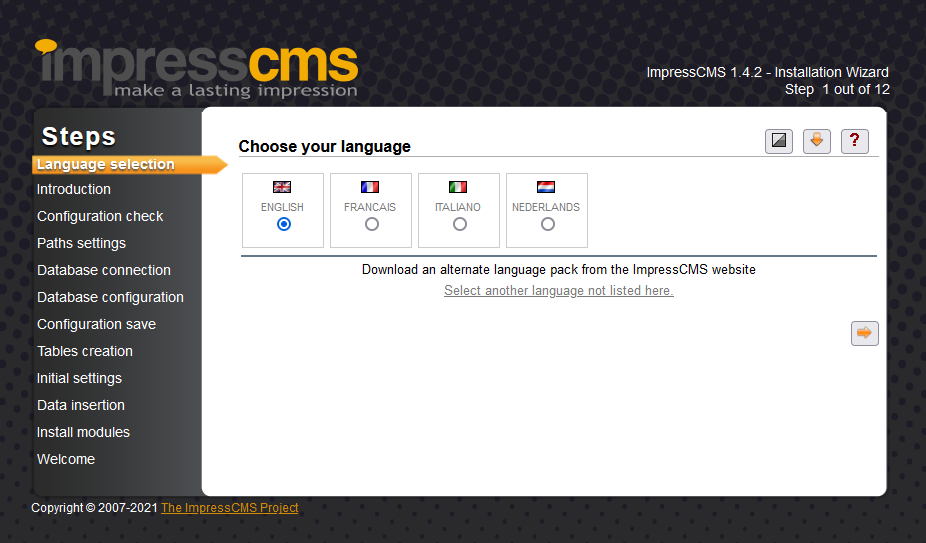
Step 4: Select the language and click on the “arrow”.
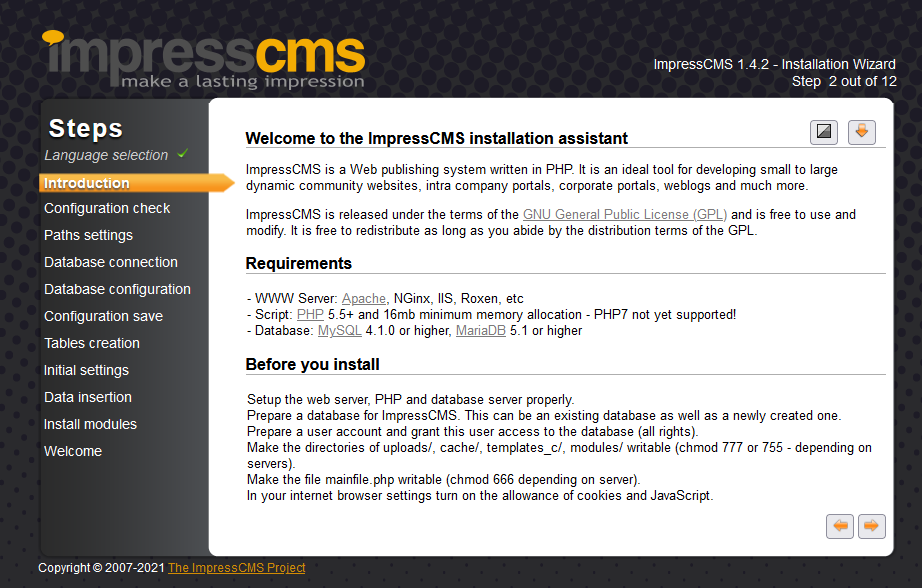
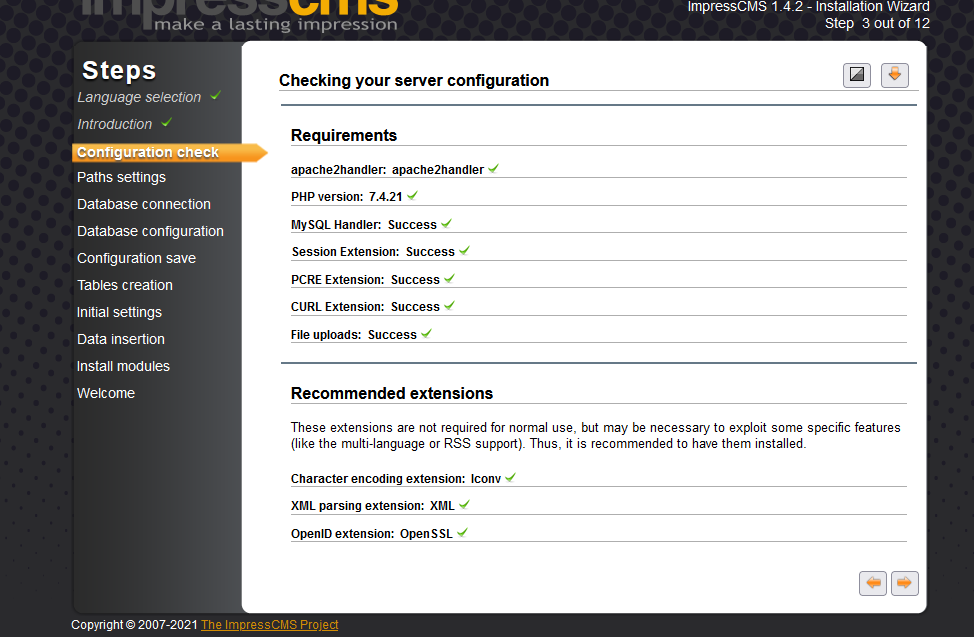
Step 5: Click on the “arrow”.
Step 6: Click on the “arrow”.
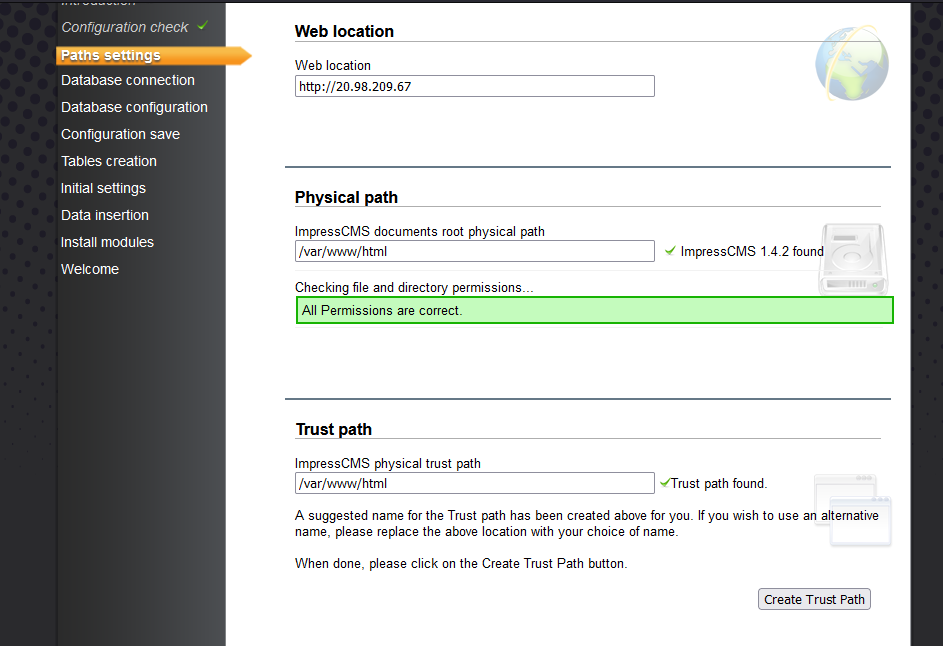
Step 7: Edit the trusted path as shown in the screenshot and click on the “arrow”.
Step 8: For setting up MySQL database user do the following steps:
Do SSH into your instance.
Type the following commands:
Command: sudo su
Command: mysql –u root –p
Type in the password as: Niles@123
Type the following commands to make a new database and user as per your choice:
Command: Create database <database name as you like>;
Command: CREATE USER ‘<username as you like>’@’localhost’ IDENTIFIED BY ‘<password as you like>’;
Command: GRANT ALL ON <database name>.* TO ‘<username>’@’localhost’;
Command: FLUSH PRIVILEGES;
Command: exit;
NOTE: Please don’t forget to set the <database name as you like>, <username as you like> and <password as you like> in the above mentioned commands to run the product smoothly.
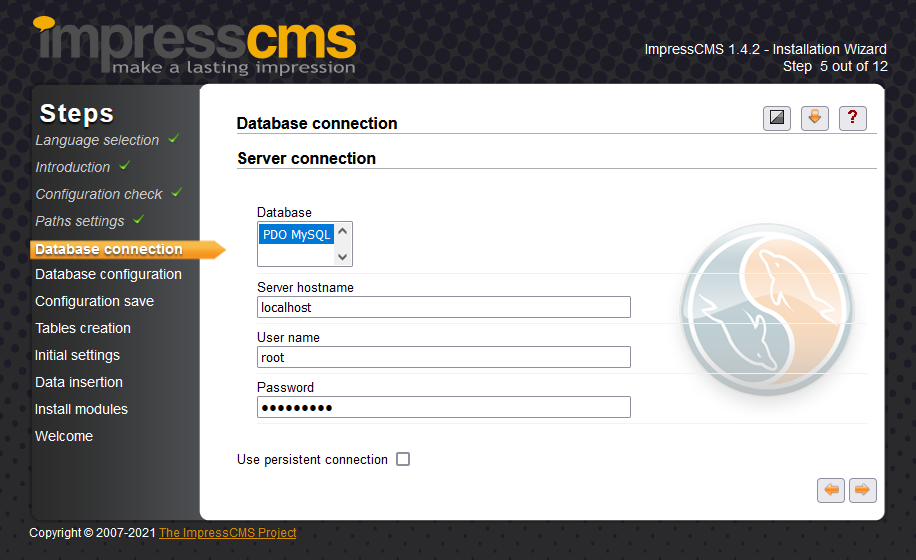
While Installing use the following detail as given below:
Host: localhost
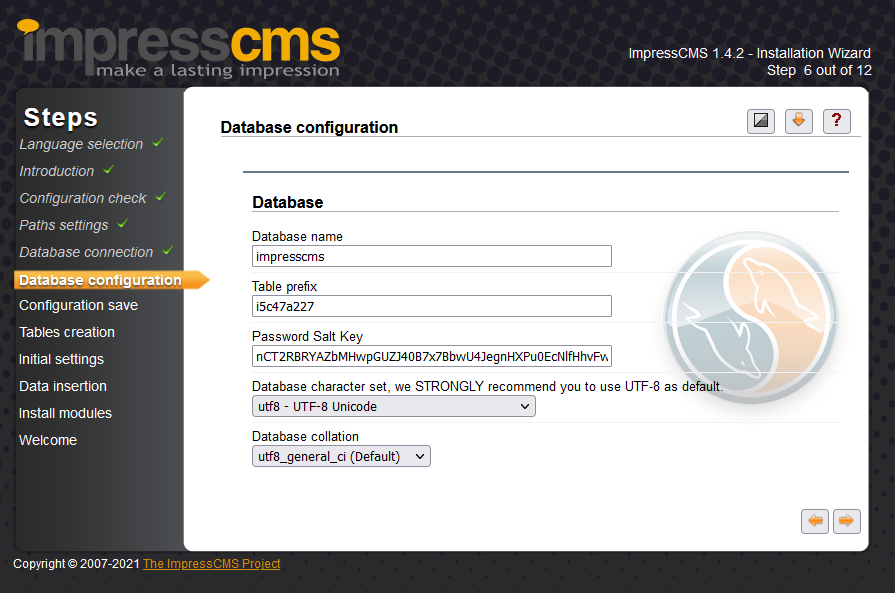
Database Name: impresscms
Username (for Database): root
Password (For Database): Niles@123
Click on the “arrow”.
Step9: Enter the database name and click on the “arrow”.
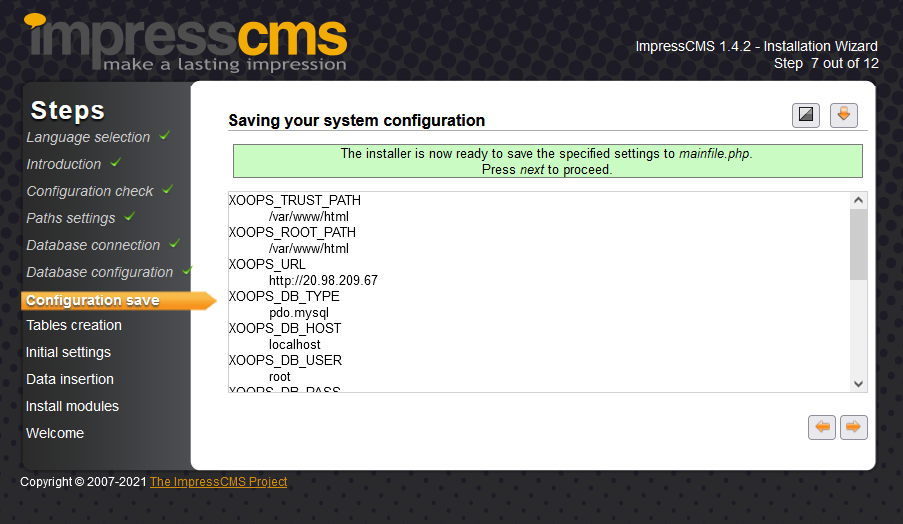
Step 10: Click on the “arrow”.
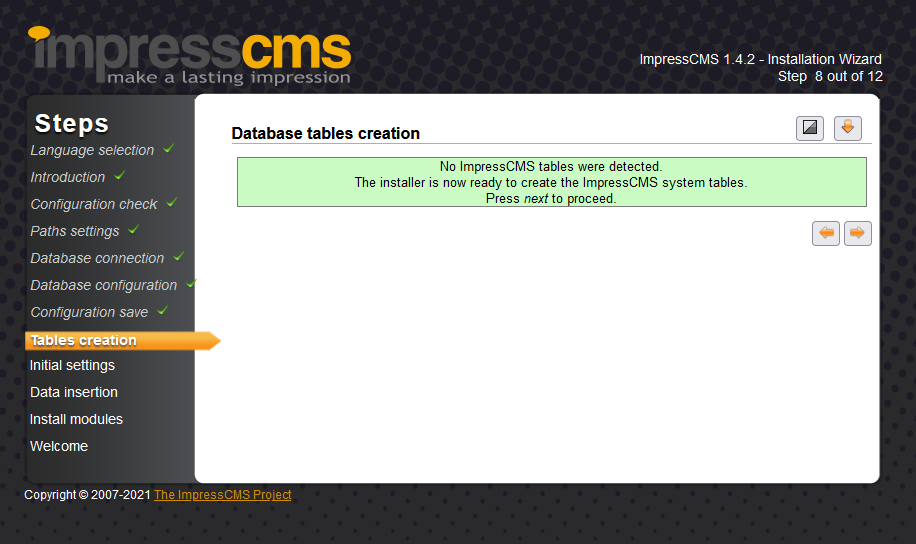
Step 11: Click on the “arrow”.
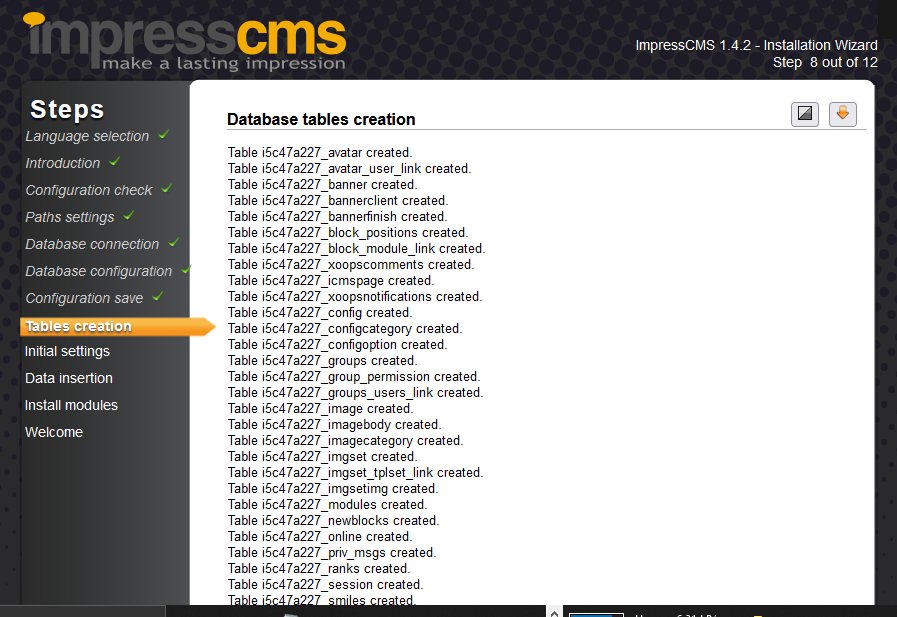
Step 12: Click on the “arrow”.
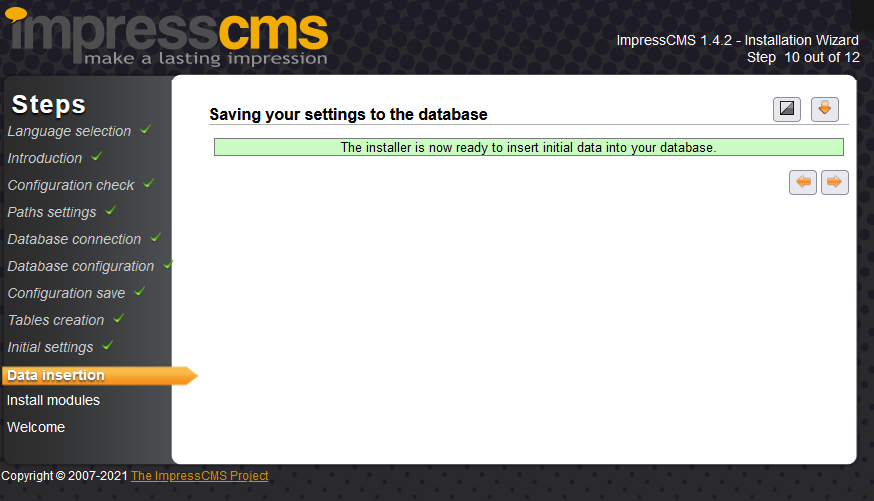
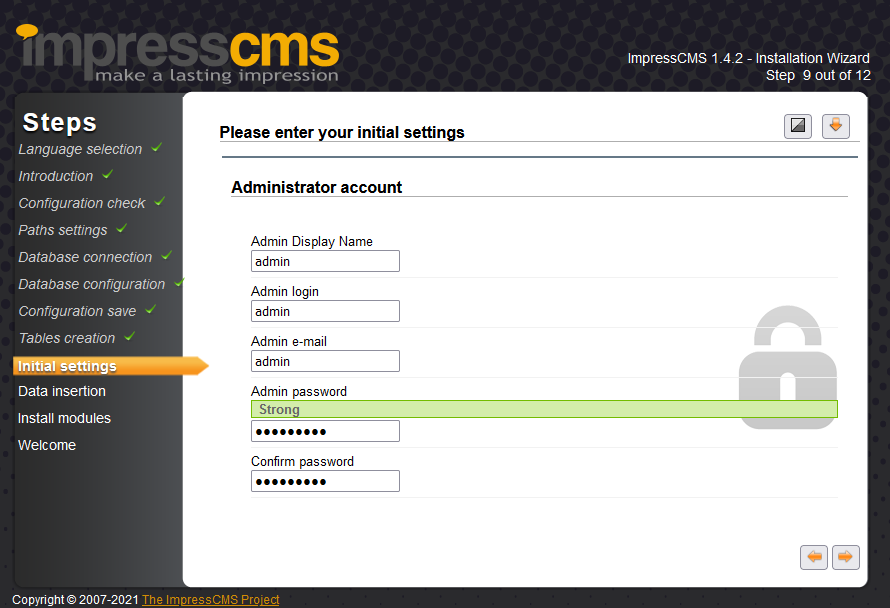
Step 13: Enter the details as you like. Click on the “arrow”.
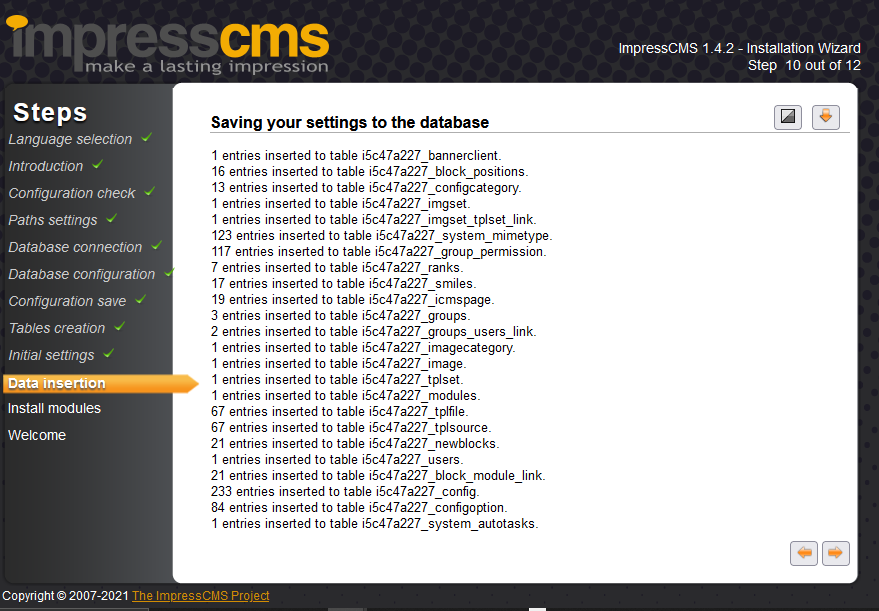
Step 14: Click on the “arrow”.
Step 15: Click on the “arrow”.
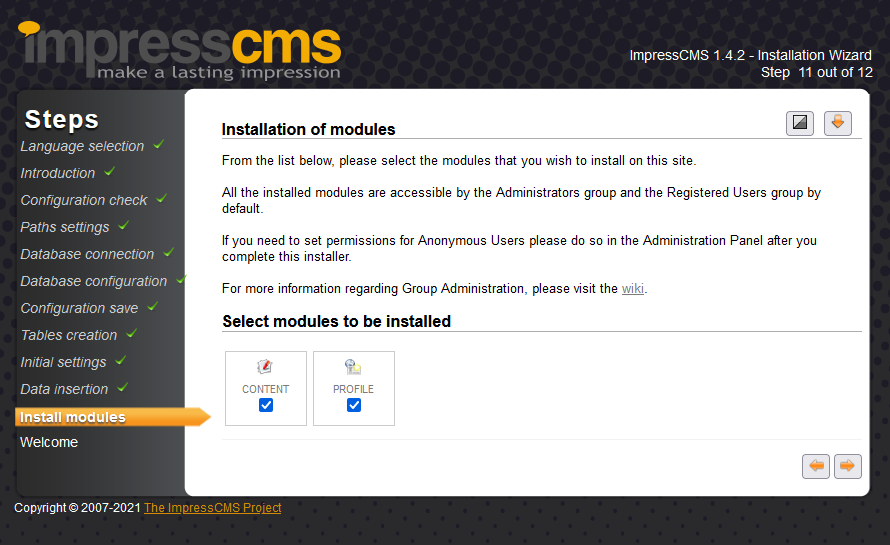
Step 16: Deselect the modules. Click on the “arrow”.
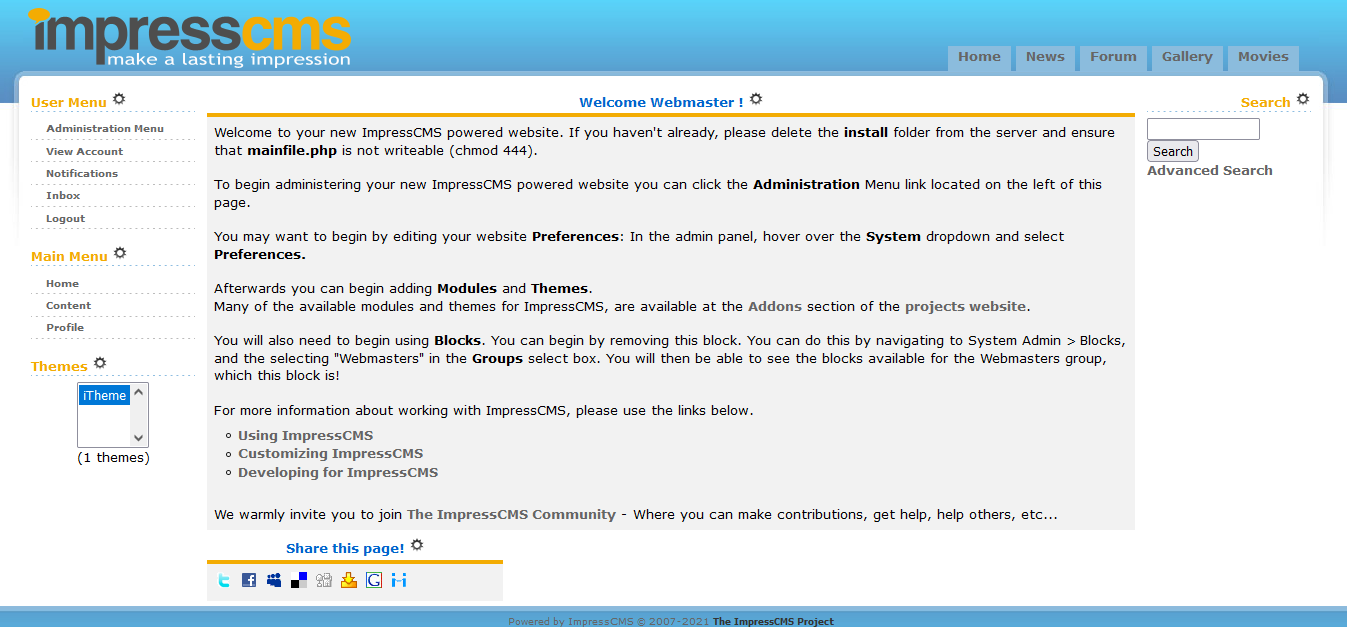
Installation complete. Click on home button and enjoy the application.

- (510) 298-5936
Submit Your Request
Taking control of your site with a content management system also has great advantages as far as your search engine rankings are concerned. All search engines like to see that websites are updated regularly and favor sites that alter their content on a regular basis. Our CMS platform provides search engine friendly web pages and also allows you to create your own page titles and meta tags used by the Search Engines for page rankings.
The CMS is browser-based and will work on both PC and Mac platforms using either Internet Explorer and Firefox. Keyboard shortcuts may vary between the two systems.
1) Reattach the link. If the page was renamed, the link might have been affected.
2) Confirm that the folder and content block do not contain special characters (such as ‘ “ # % & + / : ; < > ) in the title.
When in doubt, avoid using non-numerical or -alphabetical characters.
Requirements gathering is crucial, to make sure you buy on what you need, not on the shiny features that look good in the demonstration.
Another important factor is how easy the system is to use – most likely, the people you’d like to update the site won’t be that technically comfortable, so the best solution is one that has solid usability.
no. That is the biggest myth of CMSs. Most of the time, the real issues in content creation are around people and processes, not the technology. You need to manage your content creation like any other project – with a clear workflow and timetable, and enough people—with the right skills—to handle what you need to create. The CMS will help you get the content on to the site, but the much more difficult challenge is creating it. And computers don’t write very well.
The Web CMS does not require any special software or any technical knowledge to use. It is a web-based platform and can be accessed wherever you have an Internet connection and a web browser. The interface is very similar to Microsoft Word and does all of the HTML coding for you. You can concentrate on the content and not worry about how it will affect the page layout. It also automatically optimizes your site’s content for search, so that when someone searches for information on your site it is more likely to be found.
Highlights
- It Provides Database driven, Granular permissions for users and groups, Complete user profiles and private messaging
- It has Customizable themes and templates, Integrated comment system with moderation options and Integrated management for banner advertising
- Site-wide search function; Multibyte language support
Application Installed