AUTOMATIC1111 with Stable Diffusion & Nvidia Gpu Support

About

AUTOMATIC1111 is one of the most popular and comprehensive web interfaces for Stable Diffusion, an open-source AI model for text-to-image generation. Built with flexibility in mind, it offers an extensive range of tools for customizing and controlling the image generation process — from prompt crafting and sampling to inpainting, upscaling, and advanced batch processing.
Whether you’re an artist, developer, or hobbyist, AUTOMATIC1111 provides a robust, user-friendly experience. Its modular plugin system and API support make it easy to extend functionality, while the UI includes real-time previews, history tracking, and support for multiple models and checkpoints.
This interface has become the go-to choice for many in the AI art community due to its speed, depth, and active development.
Key Highlights:
-
🎨 Intuitive Web Interface – Easily control prompts, models, and generation settings
-
⚙️ Advanced Features – Supports txt2img, img2img, inpainting, outpainting, ControlNet, LoRA, and more
-
🚀 Real-Time Generation – View previews and progress as images are being created
-
🧠 Model Support – Use multiple checkpoints, embeddings, hypernetworks, and custom VAE
- Type virtual machines in the search.
- Under Services, select Virtual machines.
- In the Virtual machines page, select Add. The Create a virtual machine page opens.
- In the Basics tab, under Project details, make sure the correct subscription is selected and then choose to Create new resource group. Type myResourceGroup for the name.*.
- Under Instance details, type myVM for the Virtual machine name, choose East US for your Region, and choose Ubuntu 18.04 LTS for your Image. Leave the other defaults.
- Under Administrator account, select SSH public key, type your user name, then paste in your public key. Remove any leading or trailing white space in your public key.
- Under Inbound port rules > Public inbound ports, choose Allow selected ports and then select SSH (22) and HTTP (80) from the drop-down.
- Leave the remaining defaults and then select the Review + create button at the bottom of the page.
- On the Create a virtual machine page, you can see the details about the VM you are about to create. When you are ready, select Create.
It will take a few minutes for your VM to be deployed. When the deployment is finished, move on to the next section.
Connect to virtual machine
Create an SSH connection with the VM.
- Select the Connect button on the overview page for your VM.
- In the Connect to virtual machine page, keep the default options to connect by IP address over port 22. In Login using VM local account a connection command is shown. Select the button to copy the command. The following example shows what the SSH connection command looks like:
ssh azureuser@<ip>
- Using the same bash shell you used to create your SSH key pair (you can reopen the Cloud Shell by selecting >_ again or going to https://shell.azure.com/bash), paste the SSH connection command into the shell to create an SSH session.
Usage/Deployment Instructions
After successfully connecting via SSH, you’re ready to set upAUTOMATIC1111 with Stable Diffusion & Nvidia Gpu Support. Here’s how to get everything running:
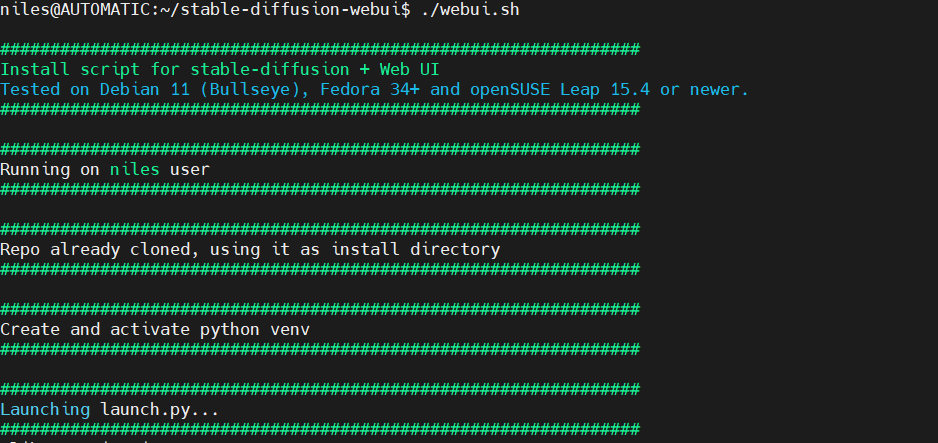
Goto below path:
su – niles
cd /home/niles/stable-diffusion-webui
.webui.sh
Port Reference:
Comfy_UI: TCP 7860(Accessible at http://<ip>:7860
For Azure firewall configuration, consult the Azure Network Security Groups documentation
- (510) 298-5936
Submit Your Request
Highlights
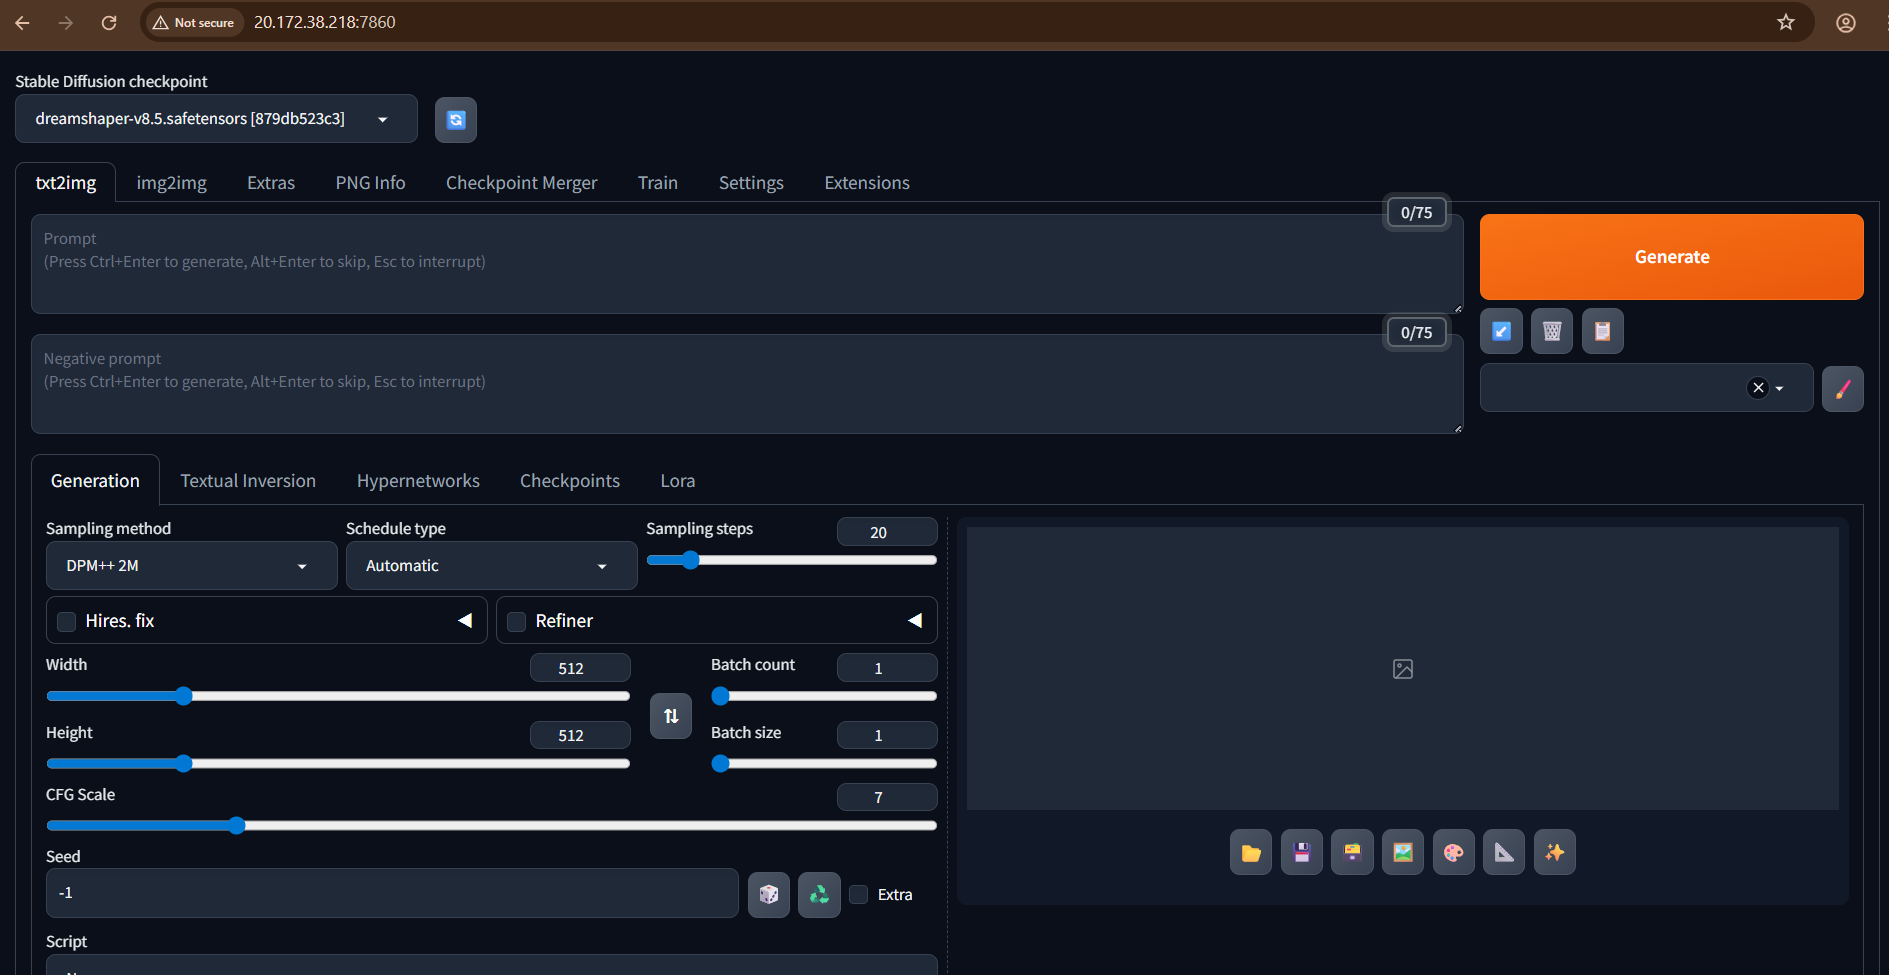
- AUTOMATIC1111 Web UI — powerful, feature-rich interface
- DreamShaper v8.5 model pre-installed
- Remote access via browser (--listen enabled)
- Easily extendable with LoRAs, ControlNet, custom checkpoint
Application Installed
